

This idea came home with my daughter from an activity she attended at church. They used big Tootsie Pops and four full size chenille stems. My daughter wanted to make them for her class, so we modified the idea slightly by using mini Tootsie Pops (because I already had a lot of them) and two chenille stems each cut in half.
Things you will need: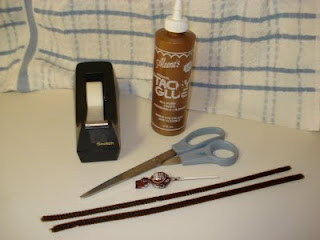
- Mini Tootsie Pop
- 2 chenille stems (same color as Tootsie Pop)
- Scissors or wire snips
- Clear tape
- White craft clue that dries clear
Instructions:First, fold both chenille stems in half.

Cut in the middle.
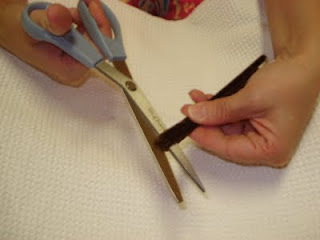
Now you have four halves.

Place the sucker in the middle of chenille stems.

Fold the chenille stems on one side of sucker up and around the sucker stick.
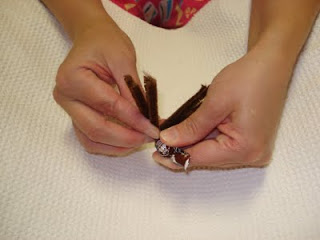
Fold the chenille stems on the other side of sucker up and around the sucker stick.

After folding both sides up and around, you have four chenille stems on each side of your sucker stick.

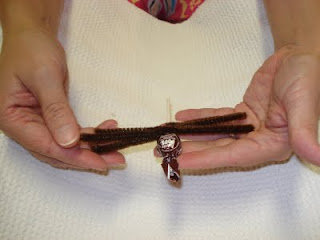
Now, with one hand, hold the stick and chenille stems in the middle. With the other hand, shape one set of chenille stems to make spider legs.
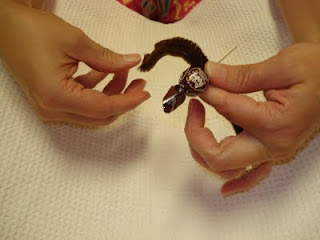
Repeat the process to shape the other side of legs.

Still holding the middle, separate the spider legs on one side.


Repeat for the other side.

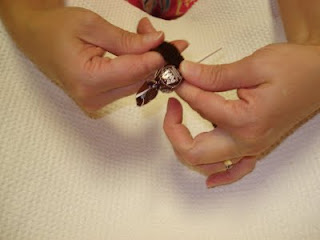
Now, see that funny piece of sucker wraper that sticks out of the spider's head.

Use a little piece of clear tape to tape it under the head. (I did find that this step can be done first, and it is probably easier to do it first.)

Now, cut off that ugly white part of the sucker stick off.

You might notice that the sucker can slide quite easily out of the chenille stems. To prevent this, turn the spider upside down and place some white glue right by the chenille stem and stick.
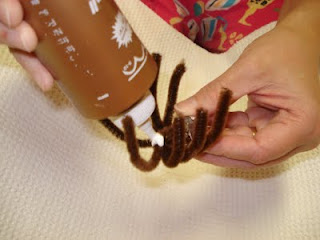
Leave the spider on it's back to dry overnight.

In the morning, you have a cool, fuzzy spider that stays together!

You can make them in a variety of colors!

My children's classmates enjoyed playing with these cute treats!


