
 So this is another family favorite! This was inspired by a Pampered Chef show a while back. My kids love tacos and rolls, so it just made sense to put the two together in a fun way.
These are great leftover and a fun, different thing for the kids lunches for school!
You can use 2 cans of store bought crescent rolls for this, but it is way better if you use my 60 Minute Dinner Rolls recipe. I always double the recipe of rolls to make this ring.
Taco Ring
Ingredients:
2 Recipes of 60 Minute Dinner Rolls
1 pound of ground beef, browned and drained
1 packet of Taco seasoning
¾ cup of water
1 cup cheddar cheese, finely shredded
Prepare 2 batches of 60 Minute Dinner Rolls.
While dough is rising, prepare beef and drain. Add taco seasoning packet and ¾ cup of water and simmer on low.
 Once dough has risen, half dough and then continue following instructions for making rolls, but do not brush with butter. After cutting first half of dough into 12 wedges, place the first roll on a round baking stone (I use a 15" stone) so that it is partially off the stone and the point of the wedge is hanging off the stone.
 Continue to place rolls on the stone around the edge, but overlap them slightly, and press down where they overlap to join them together a little better.
 When you run out of wedges, roll out the other half of the dough and repeat until your circle is complete. I never use all the rolls. It usually takes about 18 rolls to make a circle, but it will depend on your stone size and how much you overlap them.
 After your circle of rolls is complete, remove beef from heat and add cheese.
 Work quickly after adding the cheese to the meat.
 Use a small cookie scoop (1 tablespoon), to measure beef mixture. I usually scoop it up the side of the pan to really press the meat together to hold it's shape.
 Place one scoop of meat onto each roll. I usually have more meat left, so I go back around the circle filling in any bare looking spots.
 Now grab the pointed end of a roll and wrap it around the beef.
 Tuck the pointed end under the inside of your ring.
 Continue until all rolls are wrapped and tucked.
 As I said earlier, I usually have a few extra rolls, so I just roll them up (without butter) and place them in the center of the ring to bake.
 Now cover the entire ring with a towel and place in a warm place to rise (about 10 minutes). Also, preheat your oven to 350 degrees F.
 Once rolls are about doubled in size, they are ready to bake.
 Bake for about 20 minutes until the ring is a nice golden brown.
 Slice between each roll.
 And serve!
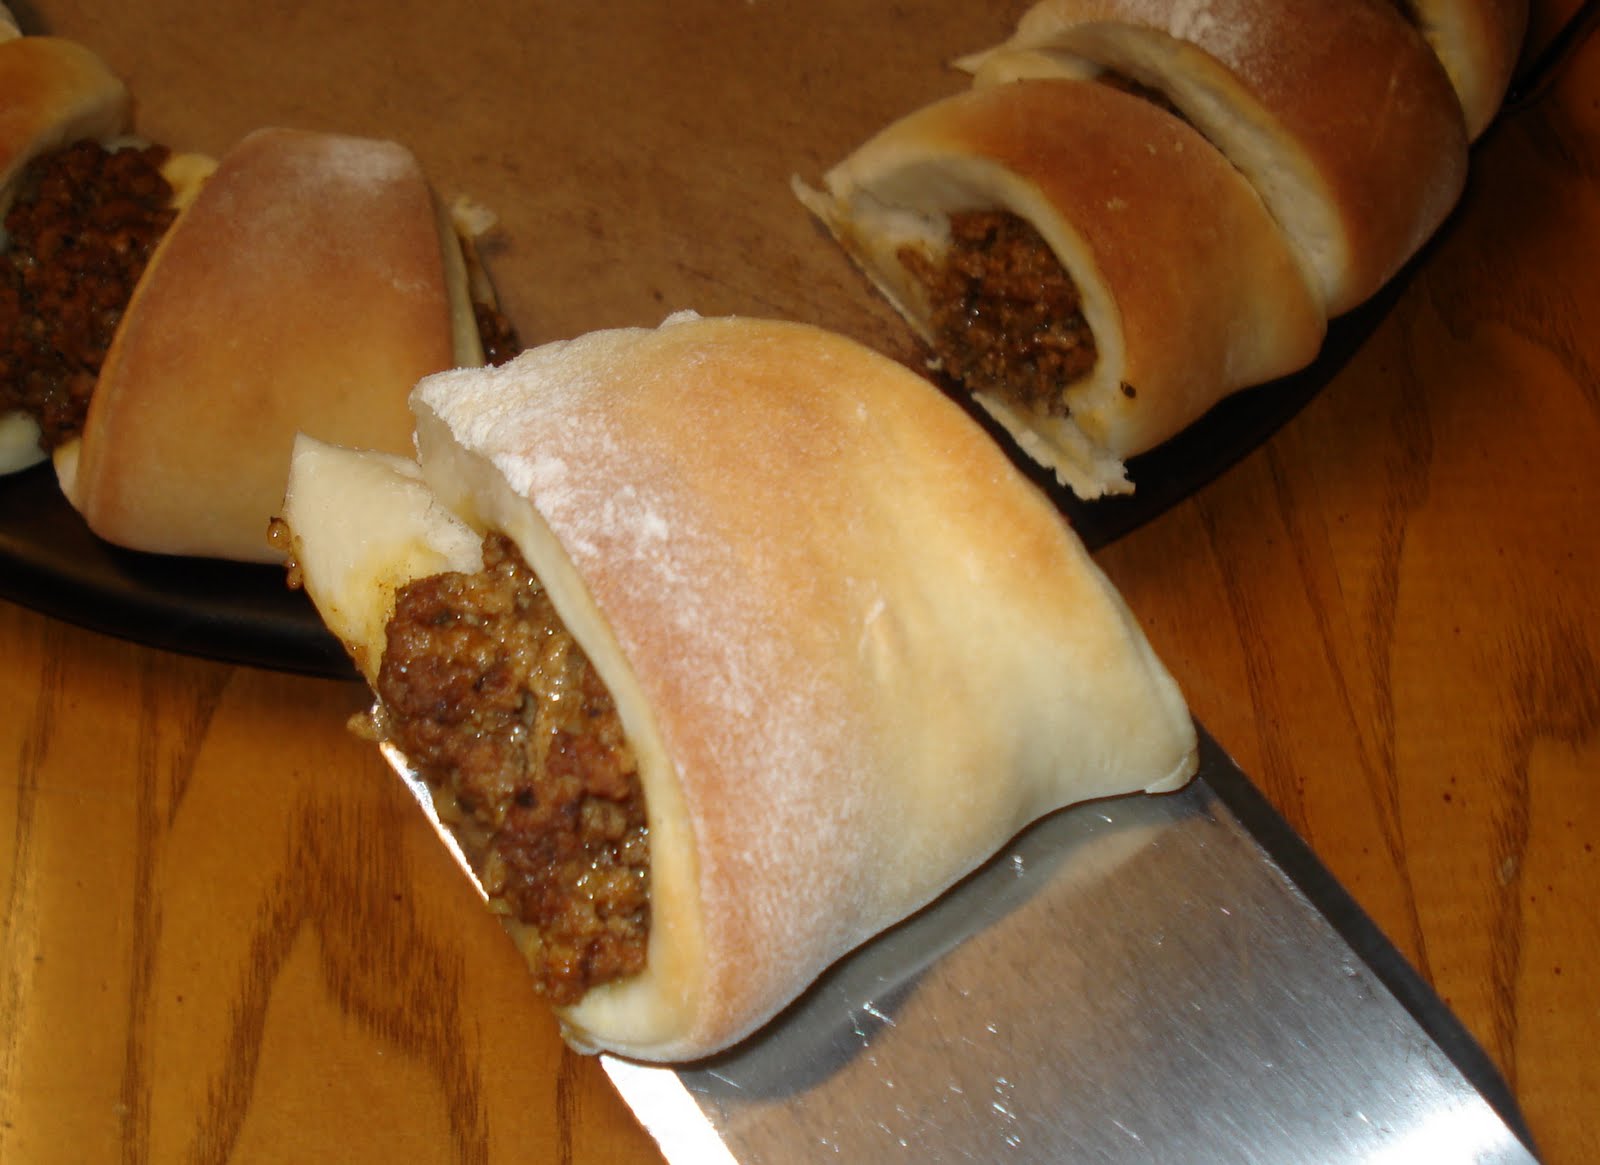 I hope your family enjoys this one as much as mine does!
Mmmmmm! That looks so good! I haven't made a taco ring in forever. I think I'm going to put it on our menu for next week.
ReplyDelete